To enable newsletters for your publication, navigate to Settings → Email newsletter and toggle newsletter sending on.

Once enabled, your first newsletter will appear. Click Customize to configure your newsletters settings.

Name & description
Setting a custom name and description for your newsletter makes it easier to identify inside Ghost. You can also choose to display the newsletter name within your email templates.
Email addresses
Set a custom sender name, ‘from’ email address, and ‘reply-to’ email address for your newsletter — read more on choosing a good custom sender name.
- Sender Email Address
This is the email address your newsletters will come from when your newsletter lands in the inboxes of your members. By default, this is configured as anoreplyemail address. - Reply-to Email Address
This email address is used for replies to your email newsletter when your members reply directly from any newsletter they received.
If you'd like to change the Sender or Reply-to email addresses, enter the new email address to be used and click Save. This sends a confirmation email to the new email address, containing a link that must be clicked to verify and activate the email address.
Member settings
Enable or disable whether or not your newsletter should be automatically applied to new member signups to your publication. When enabled, members will automatically be subscribed to this newsletter.
Using multiple newsletters
Ghost allows you to create more than one newsletter, each with its own subscriptions, settings and template design. This means you can give your audience the option of what email content they'd like to subscribe to.
Here are a few examples of how you might use multiple newsletters:
- If you cover different topics in your content, your audience can decide which topics they’re most interested in.
- If you send daily newsletters and weekly roundups, your audience can decide when they’d like to hear from you.
- Give your audience the chance to subscribe to your newsletter and your podcast episode reminders, or just one.
Add a newsletter
To add an additional newsletter, click + Add newsletter

Each newsletter can have its own name and description, and Members can also automatically be opted-in (or out) to receive newsletters you create.
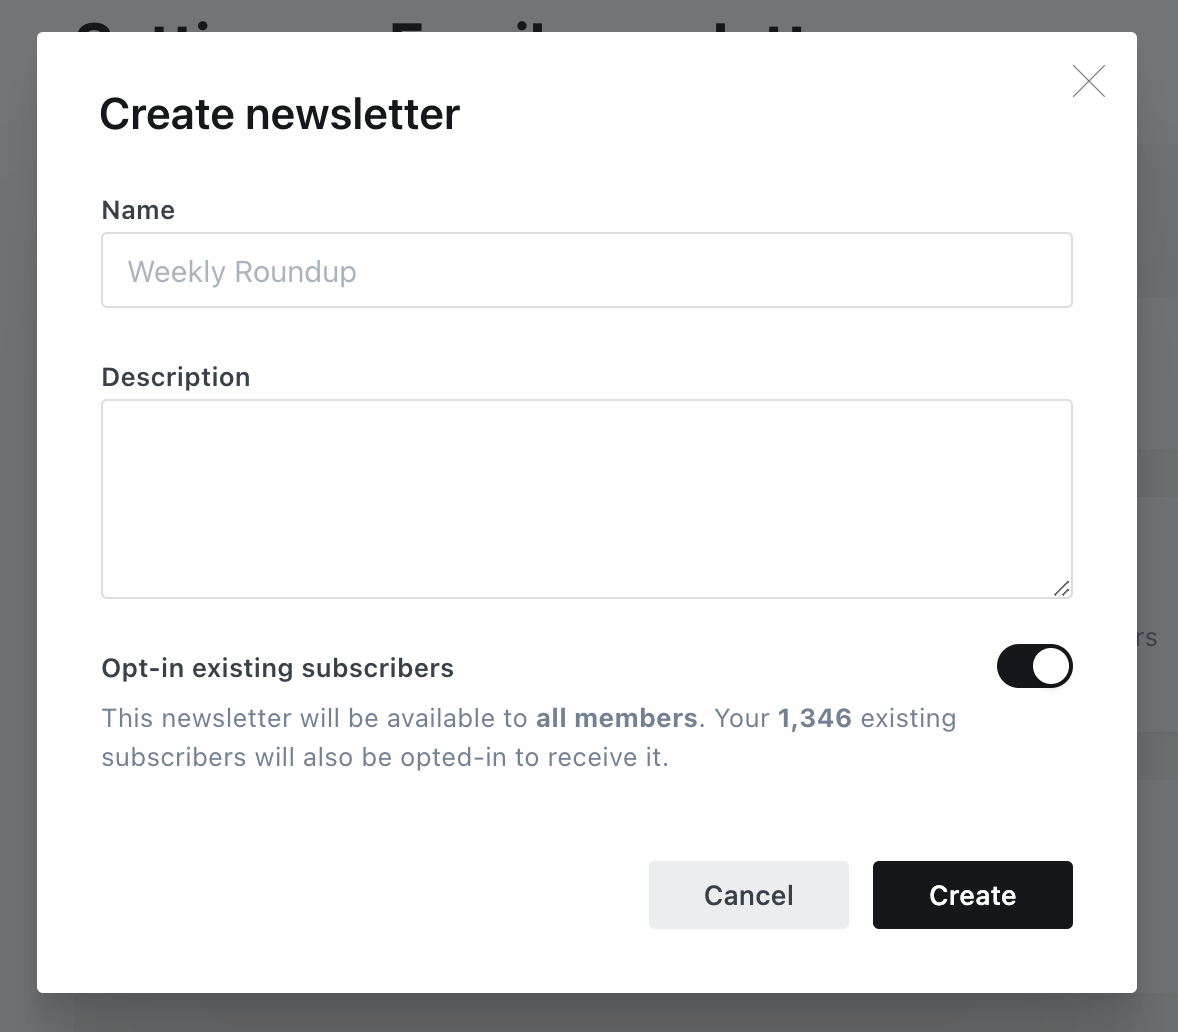
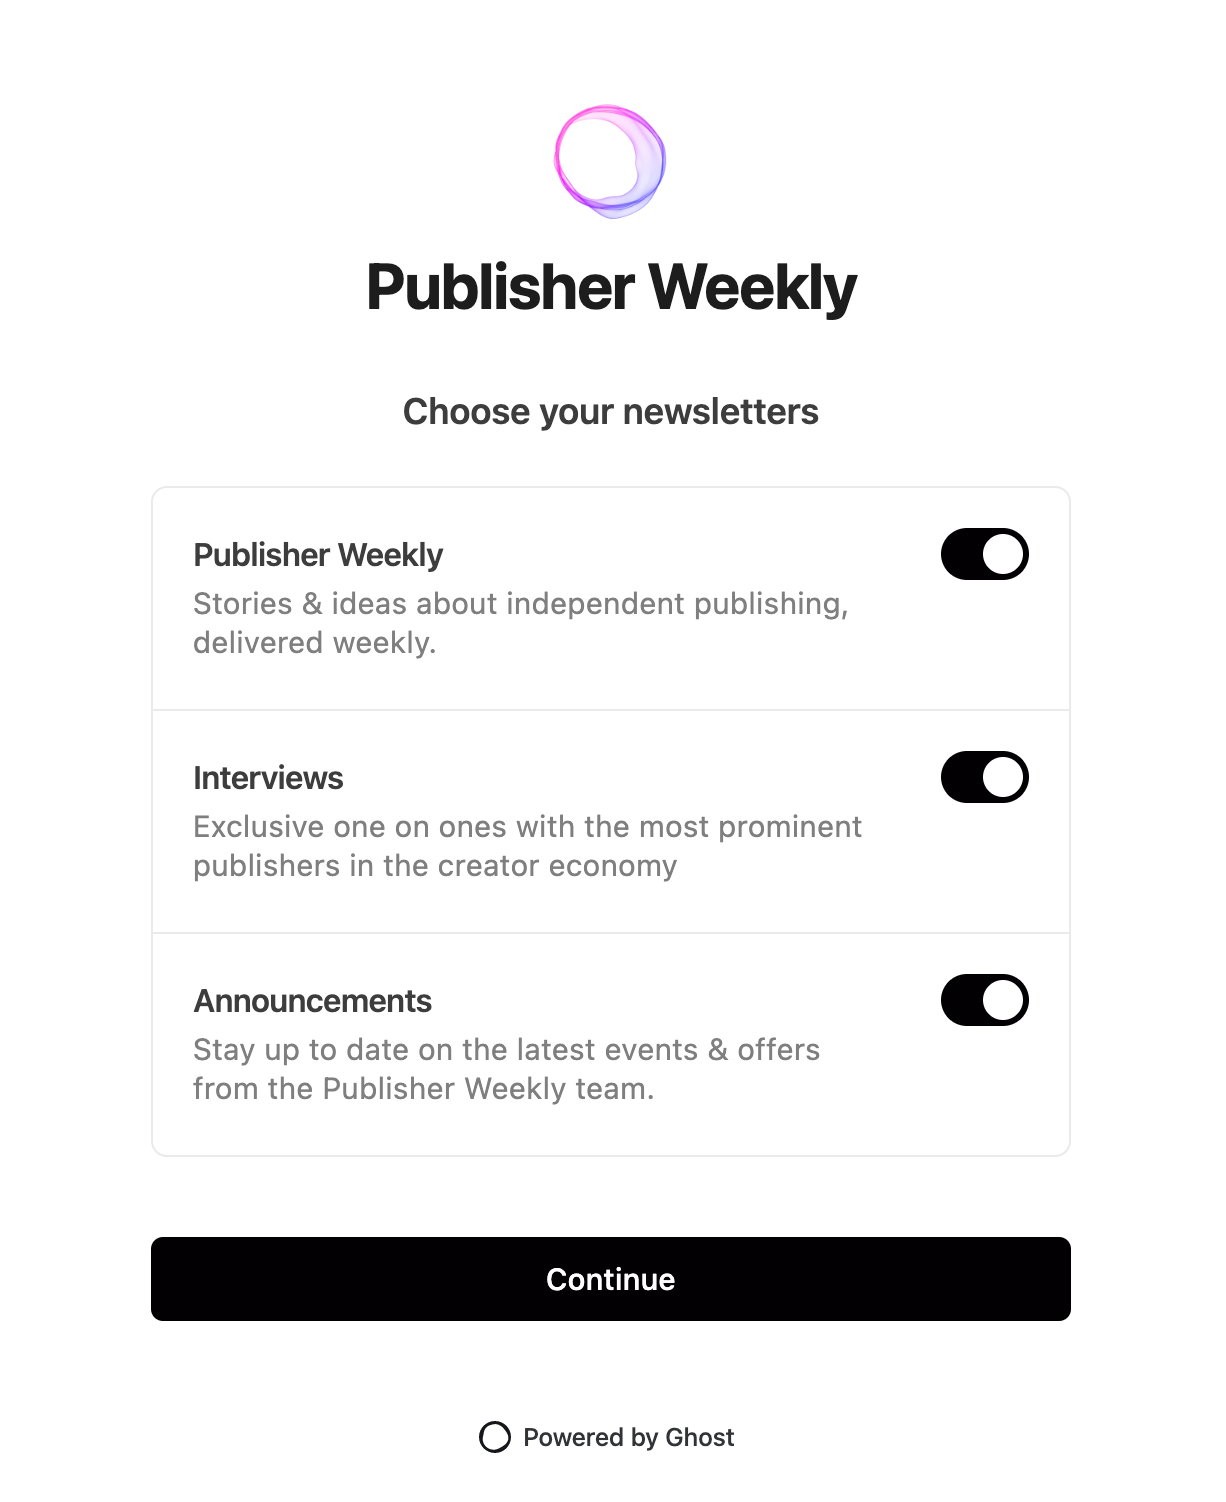
Once created, you’ll have additional options to customize your email newsletter design, and your newsletter will appear within Portal when new members signup, as well as when existing members manage their account preferences.
Archive a newsletter
Archiving newsletters allows you to make any newsletter you create unavailable to members.
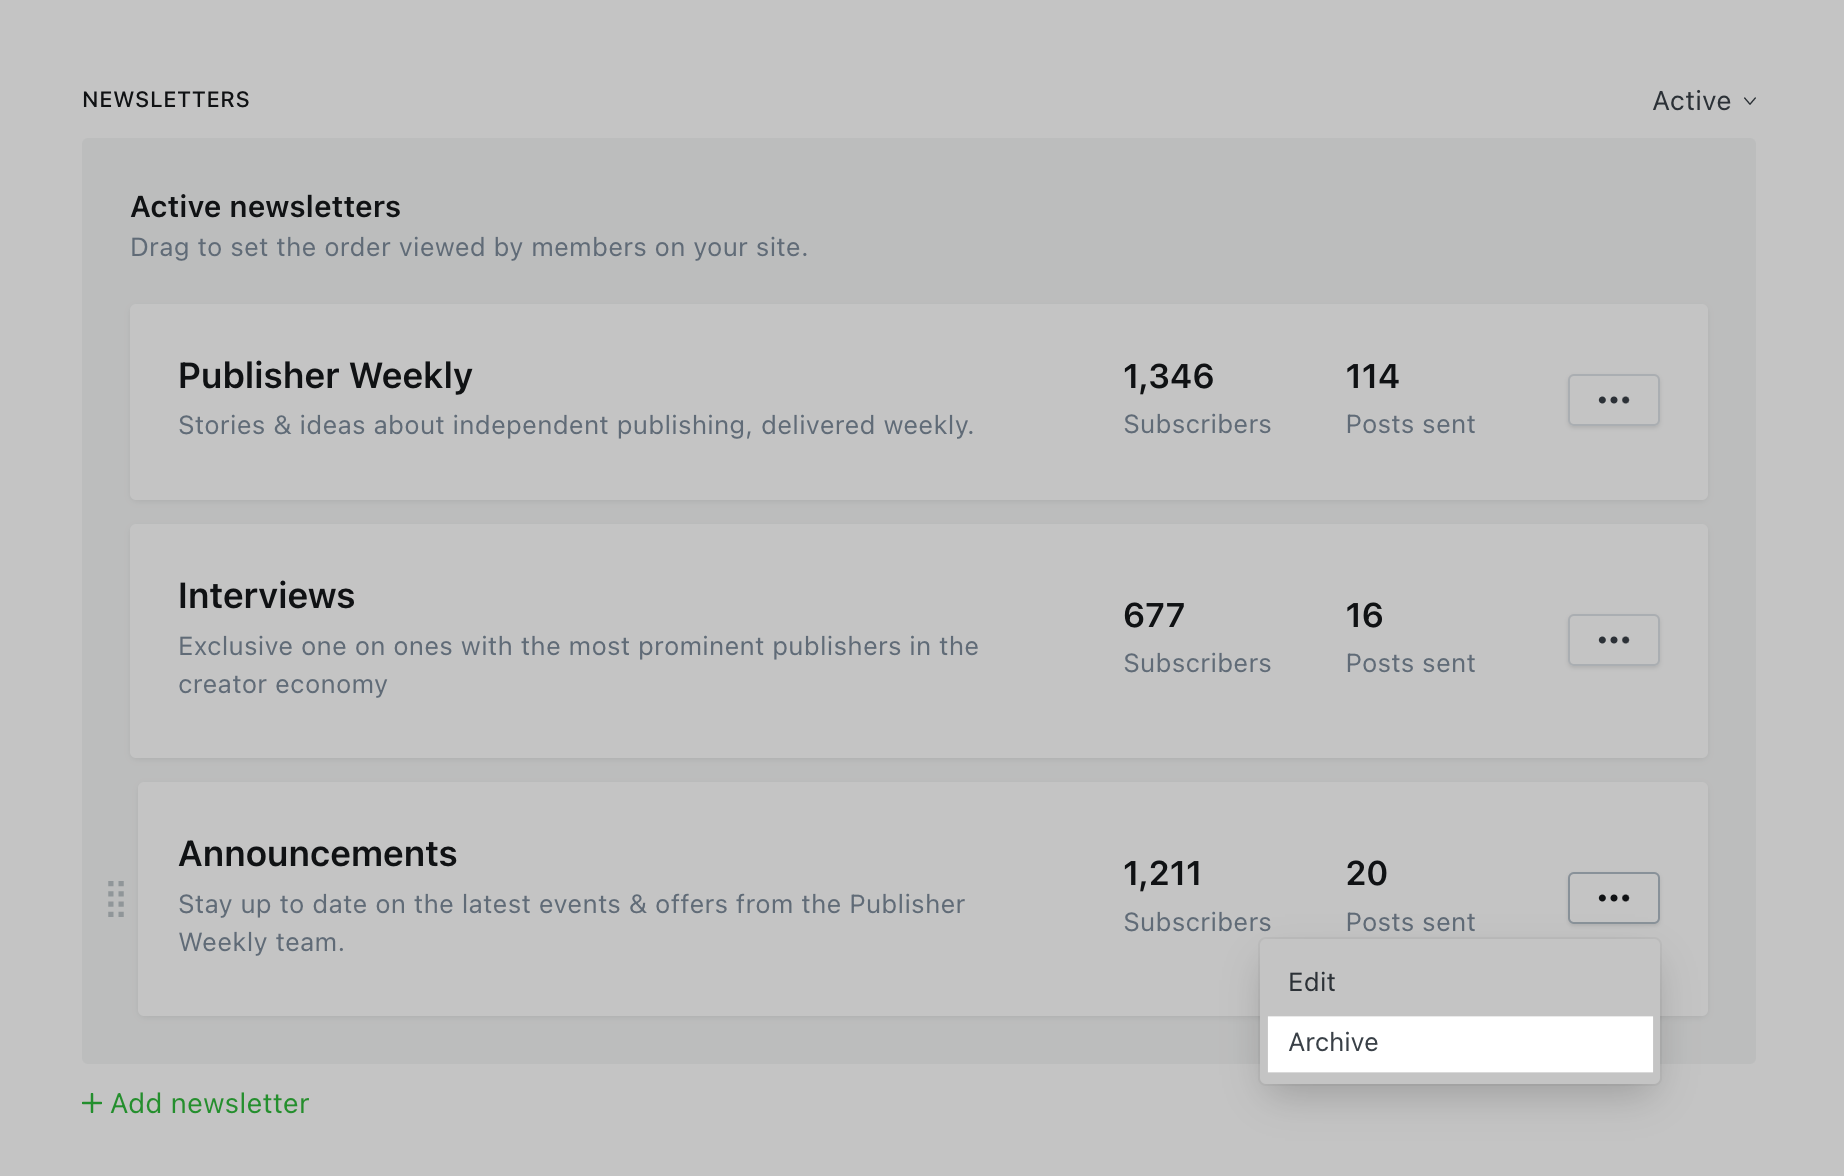
Once archived, the newsletter will also be unavailable as an option when publishing new posts.
Once your emails are setup with the correct names and settings, it's time to set your email template design.